Keeping a copy of the backup is a healthy habit, at least for your data. Also, while performing a migration from the current hosting service, you must know How to take a complete backup of your cPanel account, which includes everything: Files, Emails, Databases, Filters, Blacklist IPs, FTP accounts, etc.
cPanel offers Backup Wizard utility through which you can take complete cPanel account backup with just a few clicks. Through the same interface, you can quickly restore cPanel account backup.
1. Log in to cPanel using Username & Password. i.e; (https://yourdomain.com:2083 or https://yourdomain.com/cpanel)
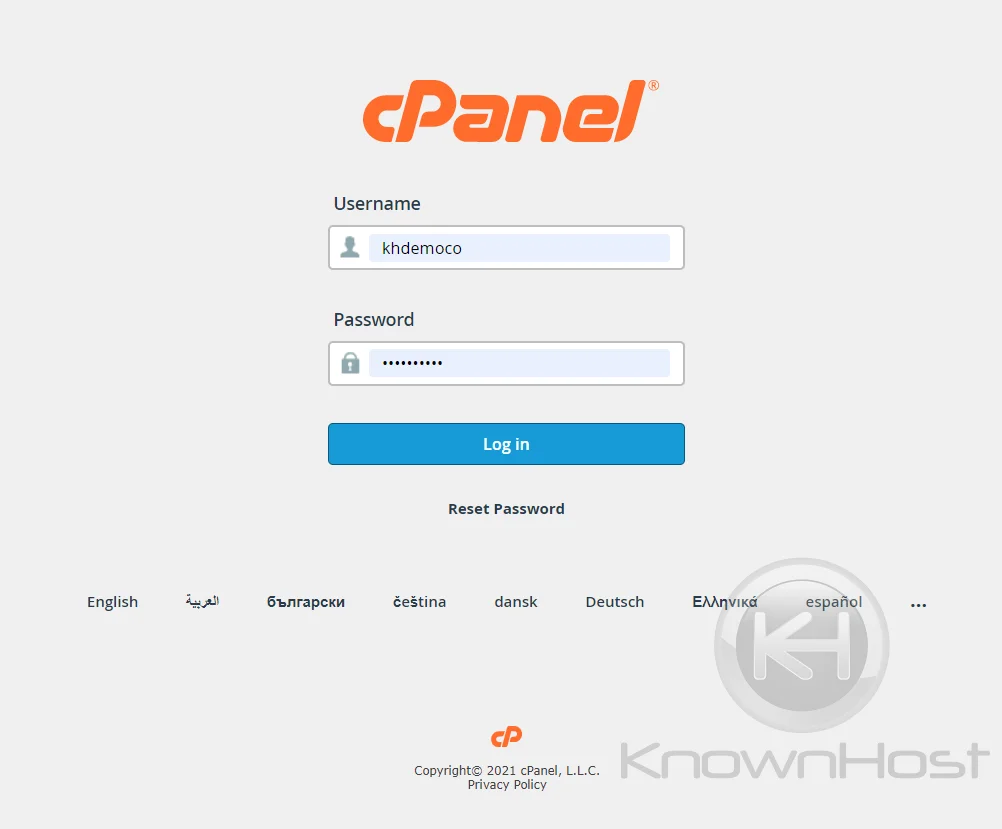
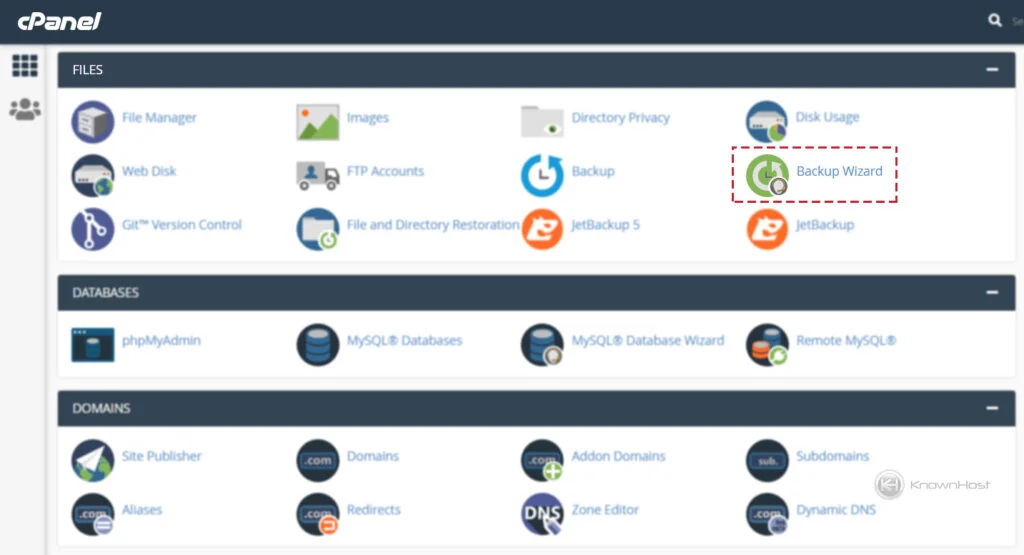
2. Navigate to Files → Backup Wizard.
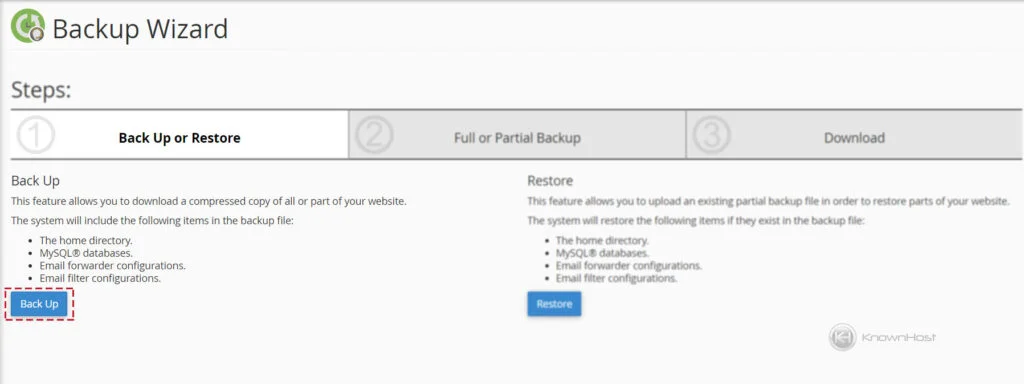
3. Now click on “Back Up” to get started with the backup process.
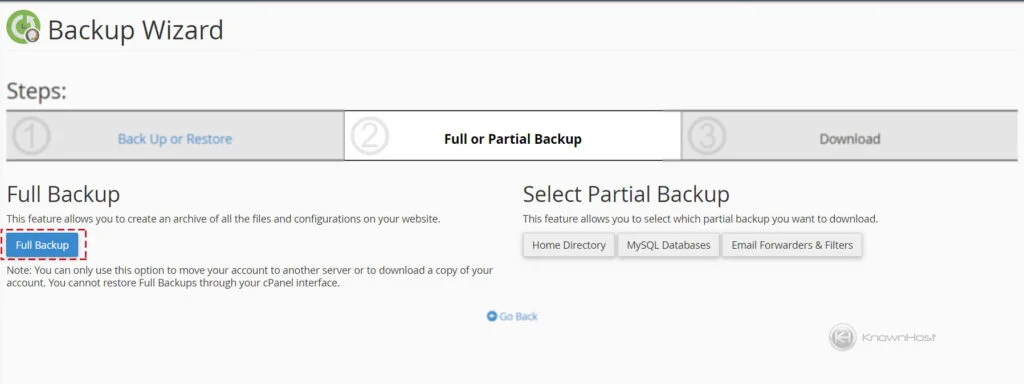
4. cPanel will ask you whether you want “Full Account Backup” or “Individual Backup” of Home Directory, MySQL Databases, Email Forwarders & Filters. For this article, we will go with “Full Account Backup” which includes everything present on cPanel (Database, Emails, Forwarders, etc).
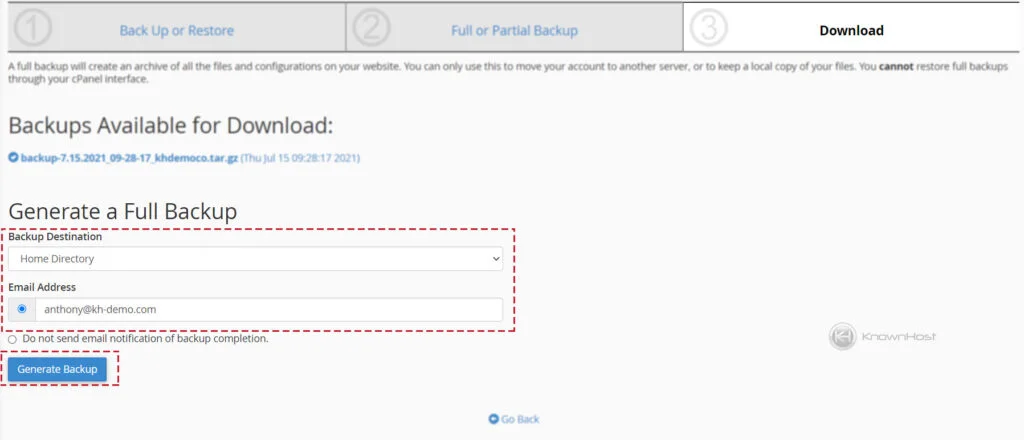
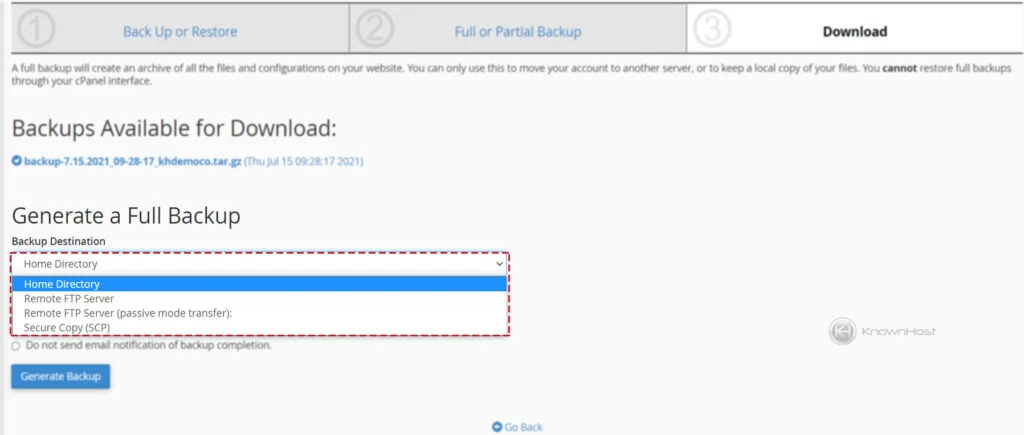
5. Select “Backup Destination“, where you would like to keep the newly generated backup file. For this example, we will select “Home Directory” as Backup Destination. Enter the email address on which you would like to get a notification after backup completion, or you can select “Do not send email notification of backup completion” → Click on Generate Backup.
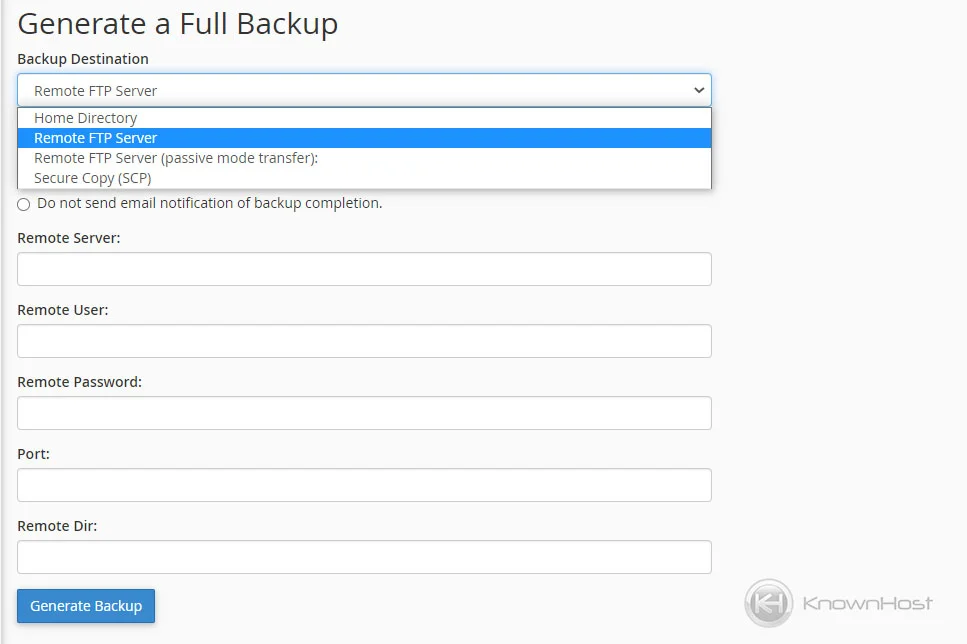
(Optional) Suppose you select Backup Destination as Remote FTP Server, Remote FTP Server (Passive Mode Transfer), or Secure Copy SCP. In that case, you need to specify the requested details such as Hostname or IP Address Username, Password, Port, Remote Directory Destination.
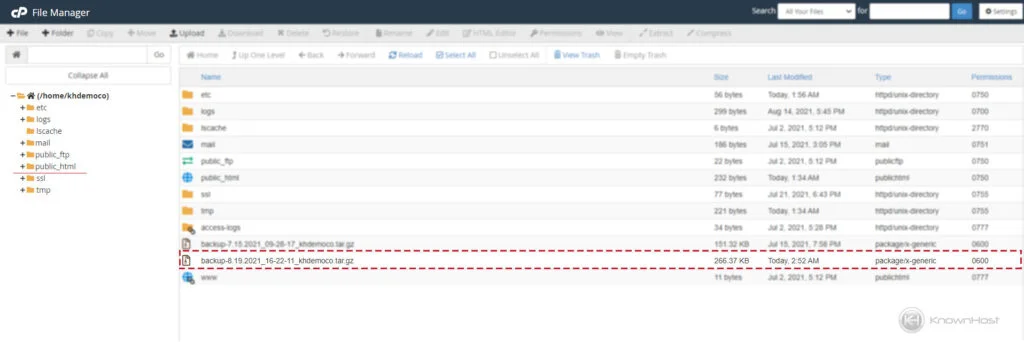
6. Once the Backup Copy has been generated, and you can find that copy at your “Backup Destination” location.

 English